QuickBooks has become one of the most powerful and flexible accounting platforms. With robust features and seamless integrations, it’s the preferred accounting solution for businesses of all sizes. But many bookkeepers are unaware of QuickBooks tips and tricks that can help them unlock its true potential.
The good news is that some of the most underused QuickBooks features are easy to learn and implement, and they can save you hours of precious time. Let’s look at five QuickBooks Online tips and tricks you can master in just a few minutes—using them can have a significant positive impact on your workflow.
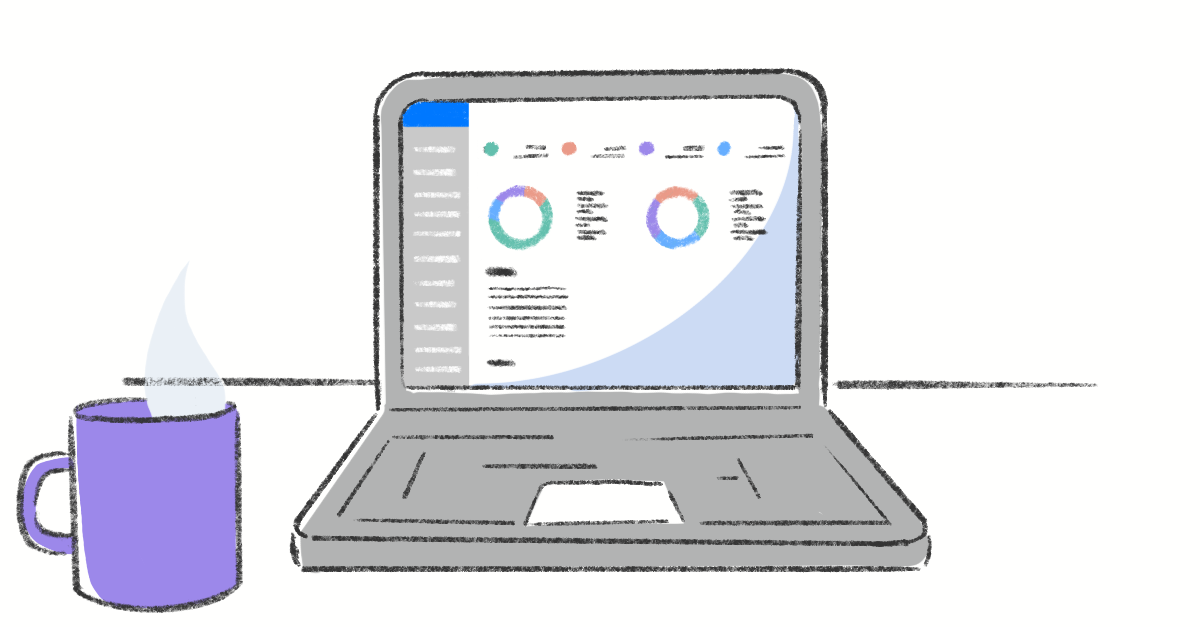
1. Customizing Your Dashboard for Quick Access
The default settings on the QuickBooks dashboard provide users with all the basics. But to get the most out of the platform, you’ll want to customize the dashboard so you can see your most important metrics and features at a glance.
Customizing the dashboard is easier than you might think:
- Click the gear icon in the upper right of the dashboard.
- Select "Customize Dashboard."
- Drag and drop elements you want in your view for daily operations.
You can maximize visibility of the features that matter the most to your operations by:
- Creating shortcuts for frequent tasks
- Comparing income vs. expenses
- Setting up seasonal tax data
- Forecasting your budget for the next year
2. Using Tags and Custom Fields for Segmentation and Organization
How you choose to organize your data in QuickBooks has a direct impact on both efficiency and accuracy. You can use tags to add organization where details aren't automatically grouped. For instance, you could add a digital label to sort transactions by project, department, or location.
To set up tags:
- Go to the gear icon.
- Choose “Tags” and “New.”
- Give your tag a name.
- Assign a unique color you will associate with that tag.
Similarly, custom fields enable you to tailor details specific to your workflow or unique client data. Maybe you want to identify which industries generate the most revenue, or track different contract types to see which contracts lead to the longest client relationships. You can add any type of custom field you’d like to search or report on at a later time.
To set up custom fields:
- Go to the gear icon.
- Choose "Custom Fields."
- Click "Add Custom Field."
- Name the field.
- Select where you want it to appear.
- Select whether to make it required or optional.
3. Batch Invoicing for Multiple Clients
The QuickBooks batch invoicing feature lets you condense hours of invoicing work into minutes. By grouping together multiple clients according to the same service, product, subscription, or other factor, you can invoice every relevant customer at once.
- Go to the “Create” menu.
- Choose “Batch Invoices.”
- Select your choice of customers, items, services, etc.
QuickBooks will generate each relevant invoice, so all you have to do is review them before sending.
Not only does this save you countless hours, but it also helps you avoid any human error that results from redundant tasks.
4. Creating Recurring Sales Receipts
Businesses based around a subscription model or scheduled services often spend a significant amount of time generating sales receipts for individual transactions. With QuickBooks, you can save hours of work by automating this process using its recurring sales receipts feature.
The sales receipts feature records payments already received, so the payment data you’re recording in your books is automated and aligned with the corresponding automated payments.
To set up recurring sales receipts:
- Create a standard sales receipt.
- Select "Make Recurring" from the main menu.
- Choose a frequency—weekly, monthly, quarterly.
- Set the duration.
- Choose whether to process these automatically or set a reminder to review them manually.
For ongoing subscriptions, you can make the duration unlimited, or if a recurring payment only lasts a set time, you can specify the end date.
5. QuickBooks Reminders for Overdue Invoices
Late payments can lead to cash flow problems and make it difficult to scale your operations. Fortunately, hunting down and following up on late payments doesn’t have to be a constant, ongoing process.
You can set up automatic payment reminders inside QuickBooks, and even personalize different templates to use for the right situations. Create a friendly reminder for the first notice that goes out, and follow up with policies or other details in another template. You can automate which days reminders are sent based on the due dates of your client invoices.
- Go to the gear icon.
- Select “Account and Settings."
- Select "Sales."
- Turn on automatic reminders in the “Reminders” section.
- Set the days when reminders are sent.
That’s a simple process for ensuring clients are well-informed about payment cycles and helping protect your company’s cash flow.
Tap Into the Full Potential of QuickBooks with Chargezoom
These QuickBooks features are a huge time saver and help you maintain the highest accuracy with your bookkeeping. But if you really want to take efficiency to the next level, it’s time to integrate Chargezoom so you can:
- Eliminate manual reconciliation.
- Record every payment automatically.
- Say goodbye to CSV imports and manual data entry.
Chargezoom handles payments from start to finish, with real-time processing, automatic invoice marking, and synchronization for all of your bookkeeping.
Ready to start making your bookkeeping life more efficient? Learn more about our QuickBooks integration and how Chargezoom’s online payment terminal can simplify payment tracking.